DataStax OpsCenter is a handy tool. However, since it provides the user with a lot of operations that if done accidentally could be very destructive (i.e., truncate table), it is a very good idea that when you install OpCenter, you immediately do three things:
- Enable Authentication
- Change the admin password
- Create user accounts with restricted permissions for different types of roles (i.e., developer, manager, etc.)
DataStax has very thorough documentation on how to enable authentication and setup rolls and users, however I just wanted to make a quick start guide that walks you through these three common steps.
Enable Authentication
To enable authentication you will need to edit the OpsCenter configuration file. Login to your OpsCenter server and edit the config file.
vi /etc/opscenter/opscenterd.conf
In the authentication section of the config file change the setting for “enabled = False” to True.
[athentication]
enabled = True
For the change to take effect you will need to restart the OpsCenter service.
systemctl restart opscenterd
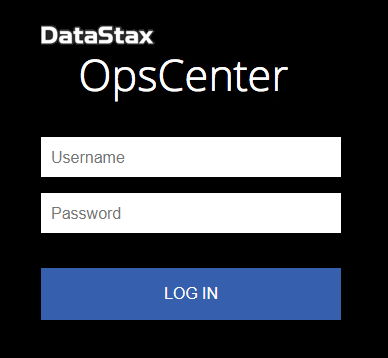
Once the application is back up you will be able to login using the default credentials.
Change the Admin Password
When the application comes back up, you will be able to login using the default admin credentials.
- Username – admin
- Password – admin
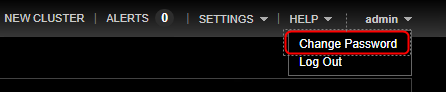
Go to “admin → Change Password“.
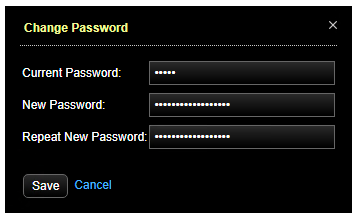
Now create a new password for the admin user.
Create a New Role and User
Since the “admin” user has unrestricted permissions, you probably don’t want everyone logging in to OpsCenter with that level of access.
In OpsCenter it has the concept of Roles and Users.
- Role – Is a defined set of permissions
- User – Is a login that is mapped to a Role
So for this example let’s create a new role and user account for a developer with a reduced set permissions.
Create Role
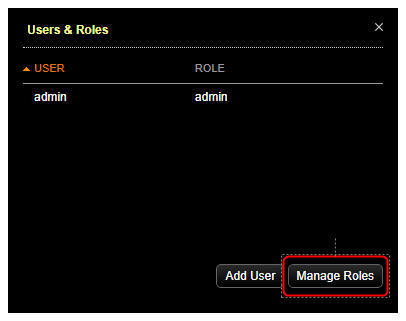
To add a new role go to “Settings → Users & Roles“.

Click on “Manage Roles”.
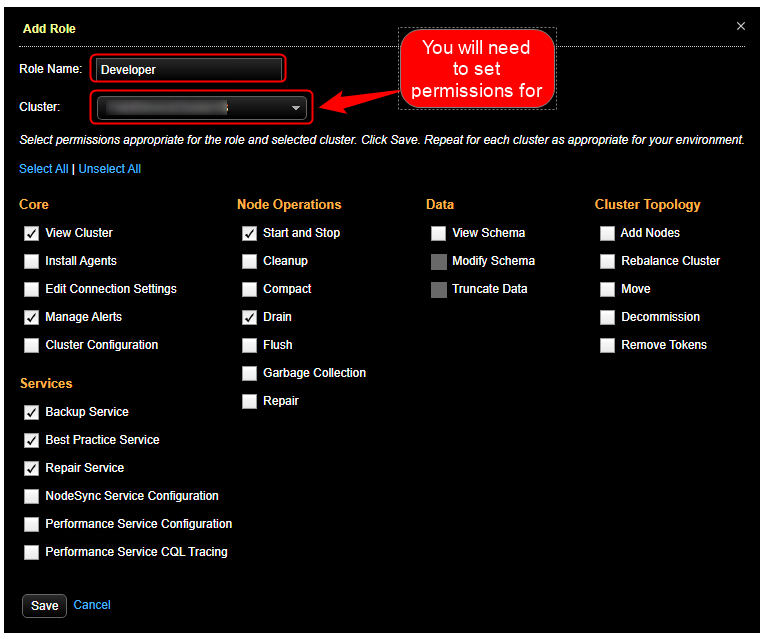
Click on “Add Role”.

Create the new role “Developer“.
Note: You will need to set permissions on a per cluster basis. So you will need to repeat the permissions selection for each cluster.
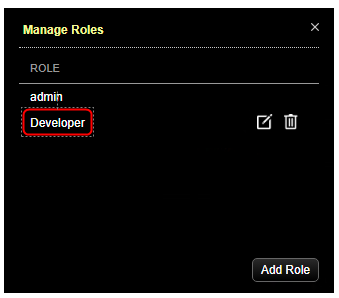
After saving your changes, you should see a new role called “Developer” on the “Manage Roles” page.
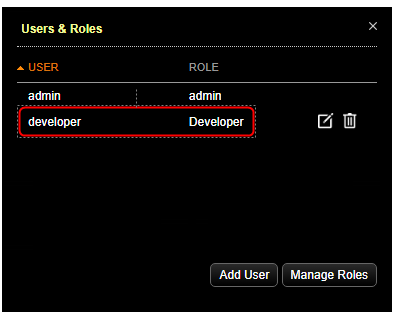
Create User
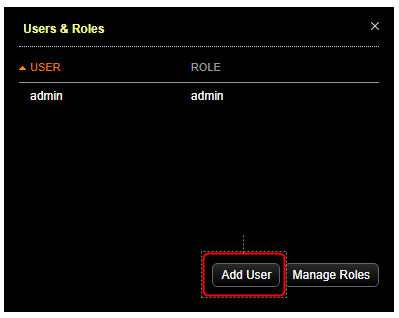
Now that we have created our new “Developer” role, let’s create a new user from the “Settings → User & Roles” page by clicking the “Add User” button.
Create a new user called “developer” and in the “Role” drop down list make sure to select the role “Developer“.

After clicking “Save” you should see your new “developer” user account.
You will now be able to login with your new “developer” user account.
I hope that helps!